Cob Oven Project
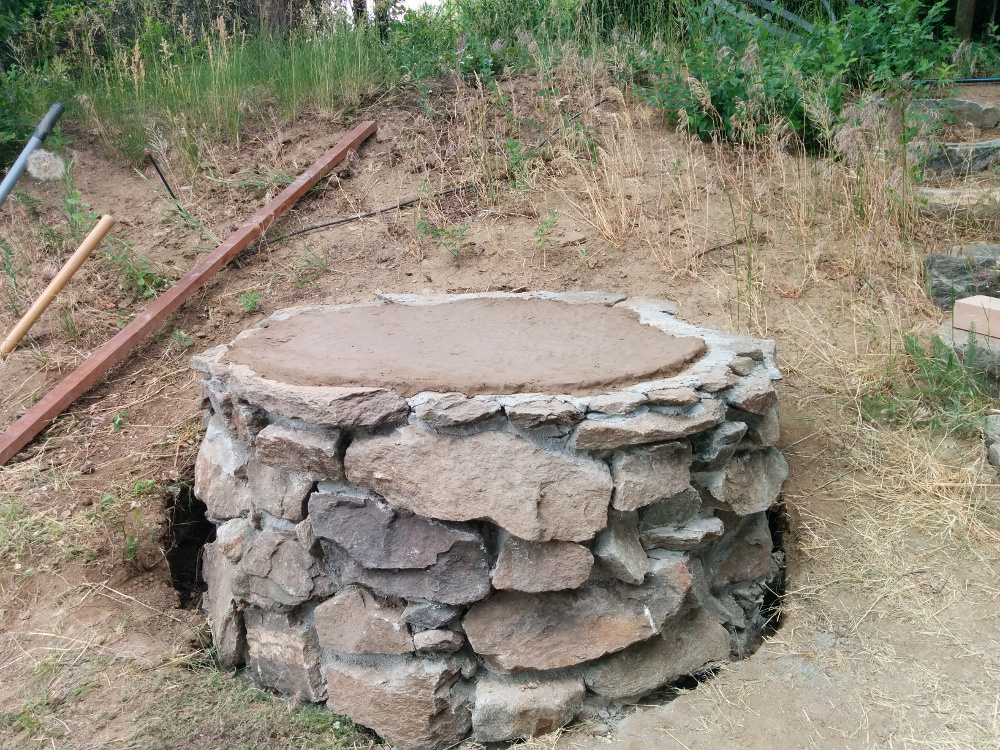
Starting the Foundation
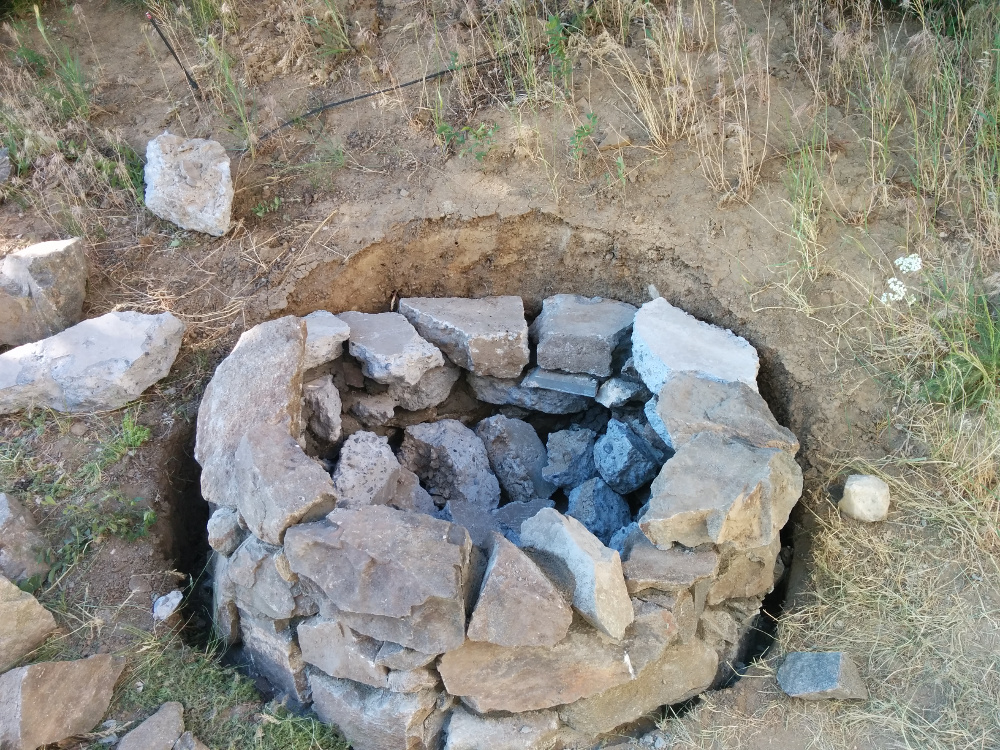
Built it into a hillside to cut down on material and dug down about 1 foot, added a bed of 5/8 minus and mortered in the stones from an old wall on site.
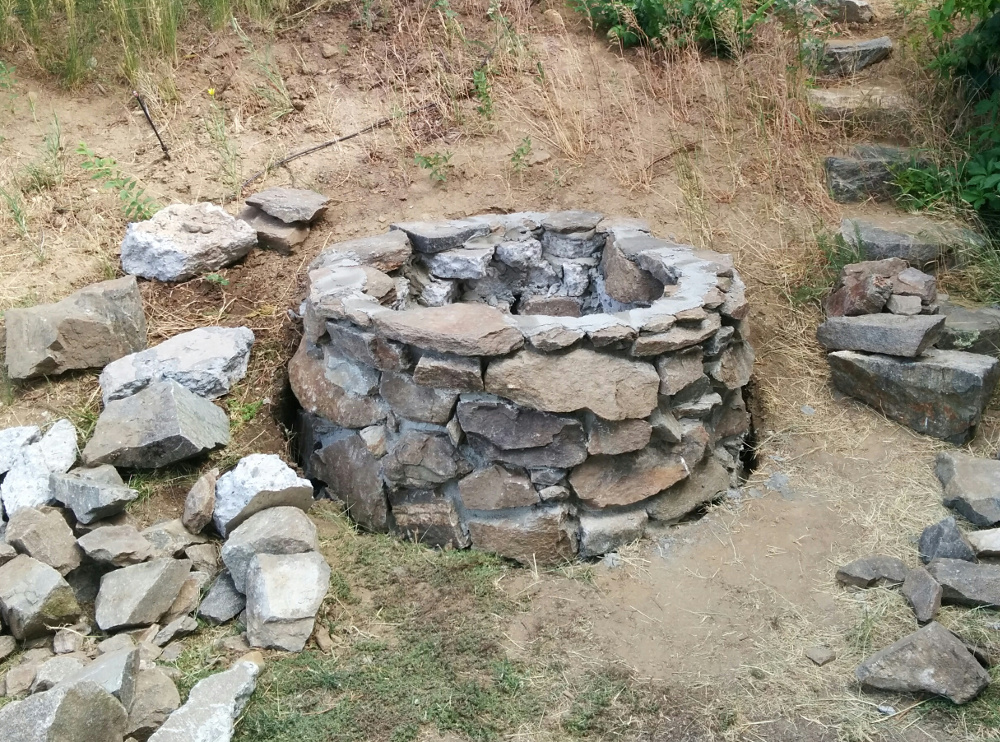
Foundation Complete
We used broken up concrete against the hill to save on rock material.
Floor Insulation
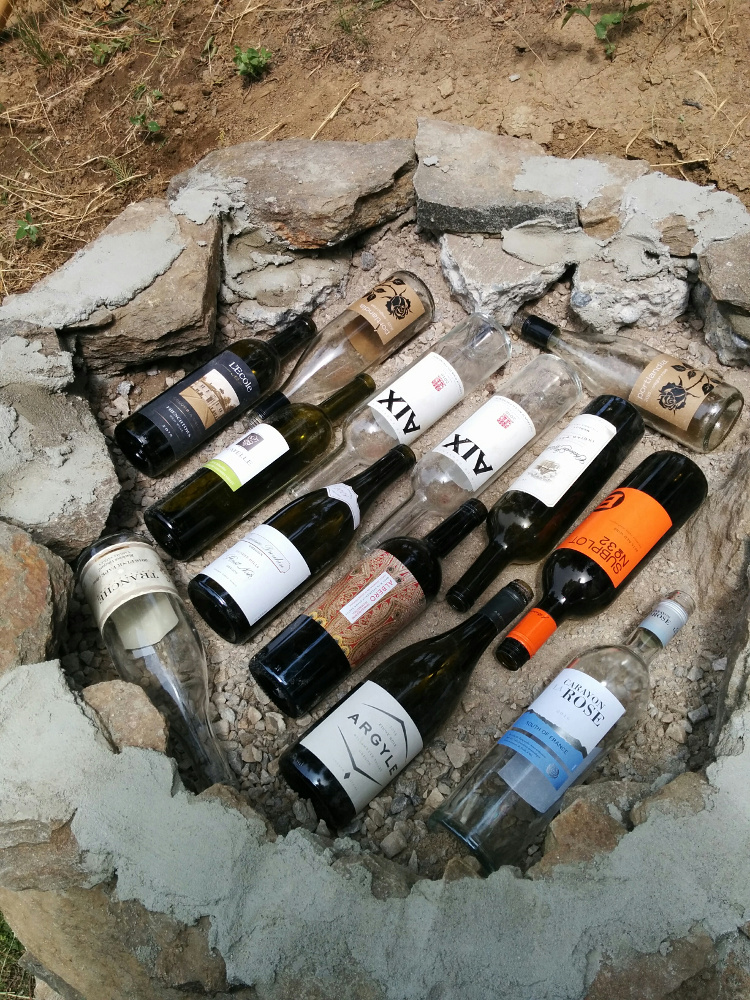
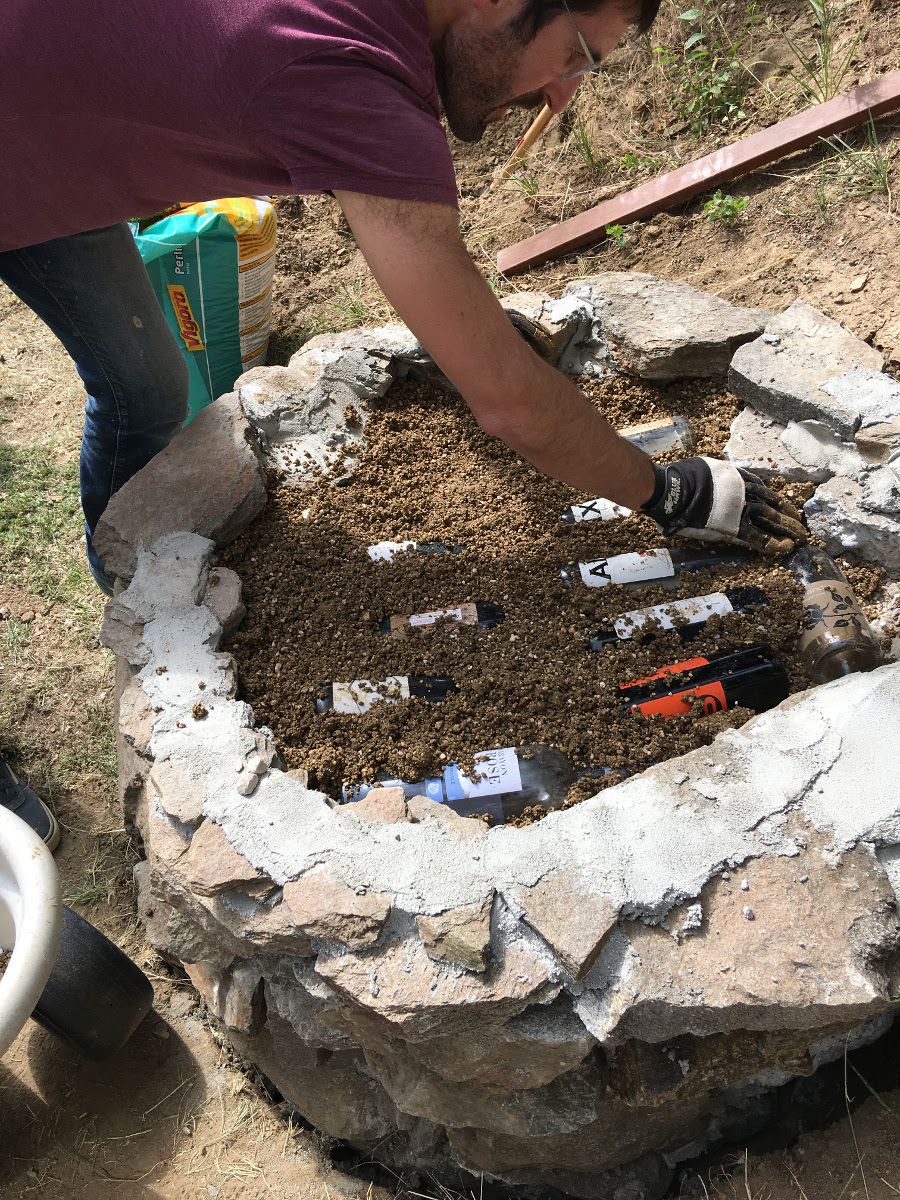
The foundation is filled with broken concrete and 5/8 minus. Empty wine bottles are set in to provide an insulative barrier between the oven floor and ground.
Insulation
A mix of perlite (purchased at the garden store) and clay slip is packed around the bottles to keep them in place. Tip: A bucket, heavy duty drill and sheetrock mixing bit is useful for making clay slip as needed.
Mud Subfloor
Capped the foundation off with a clay rich mud subfloor to provide a somewhat flat surface to build on.
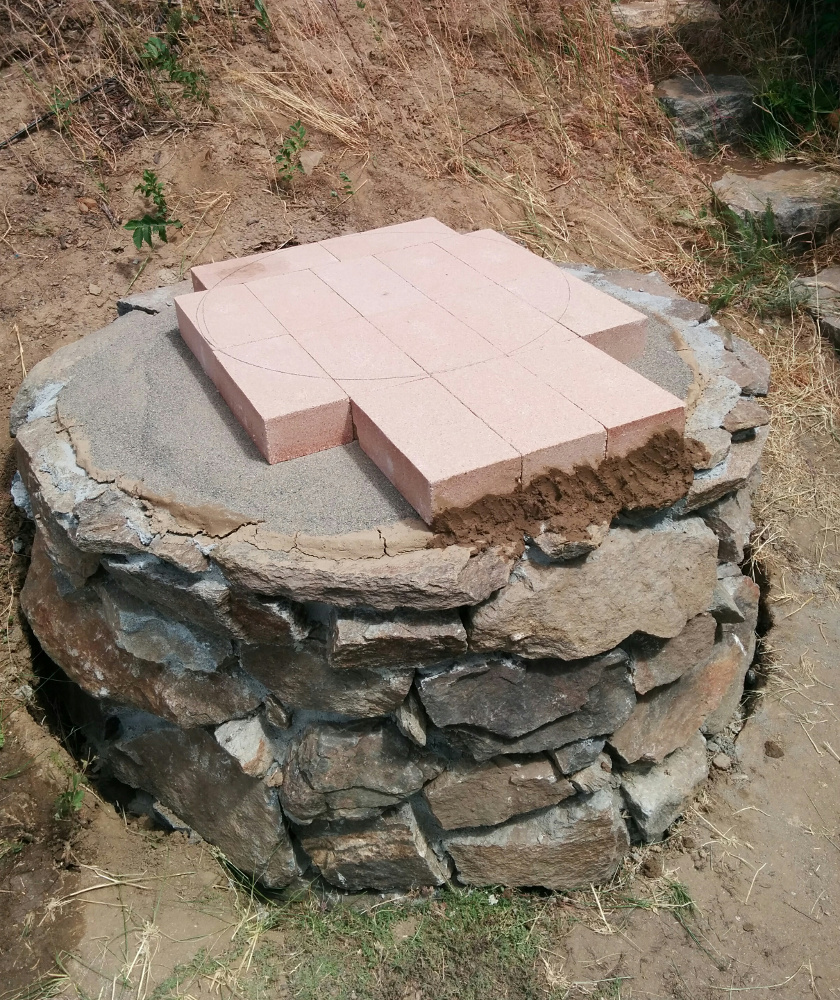
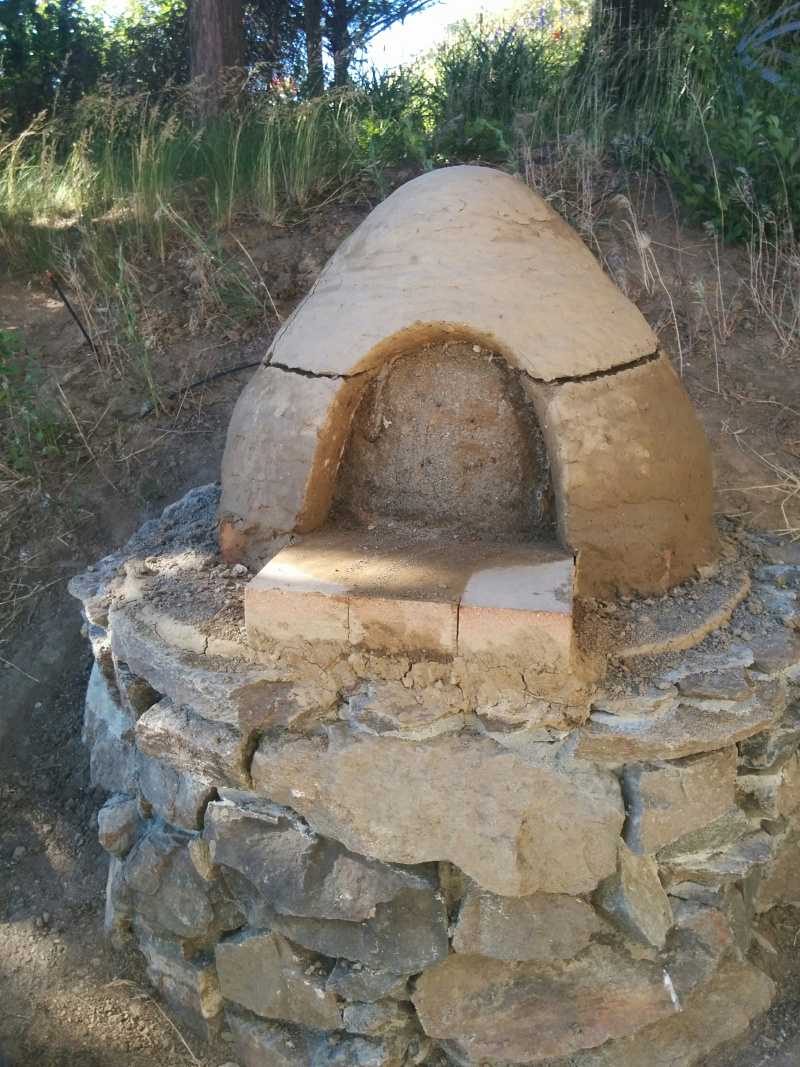
Firebrick Floor
The bricks were tough to find since they are pretty unique and need to have the right heat retention and reflection characteristics. Do your research and ask a lot of questions when you think you find them.
Sand for Dome
Draw out a nice clear line and then just start piling up wet sand. This provides the form for the dome and will set the ultimate shape for the oven. Ours turned out a little coneheadish so try to draw the walls up straight and then round out the top.
Dome Wrapped
Wrapped in newspaper to keep a barrier between mud and sand. Makes it easier to pull out later.
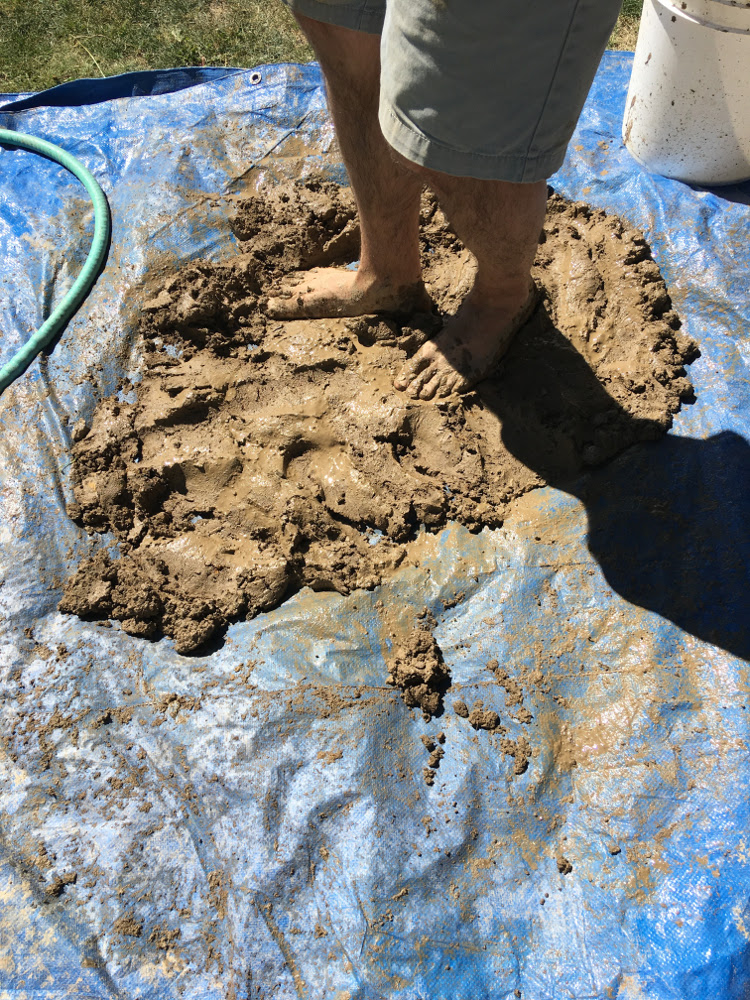
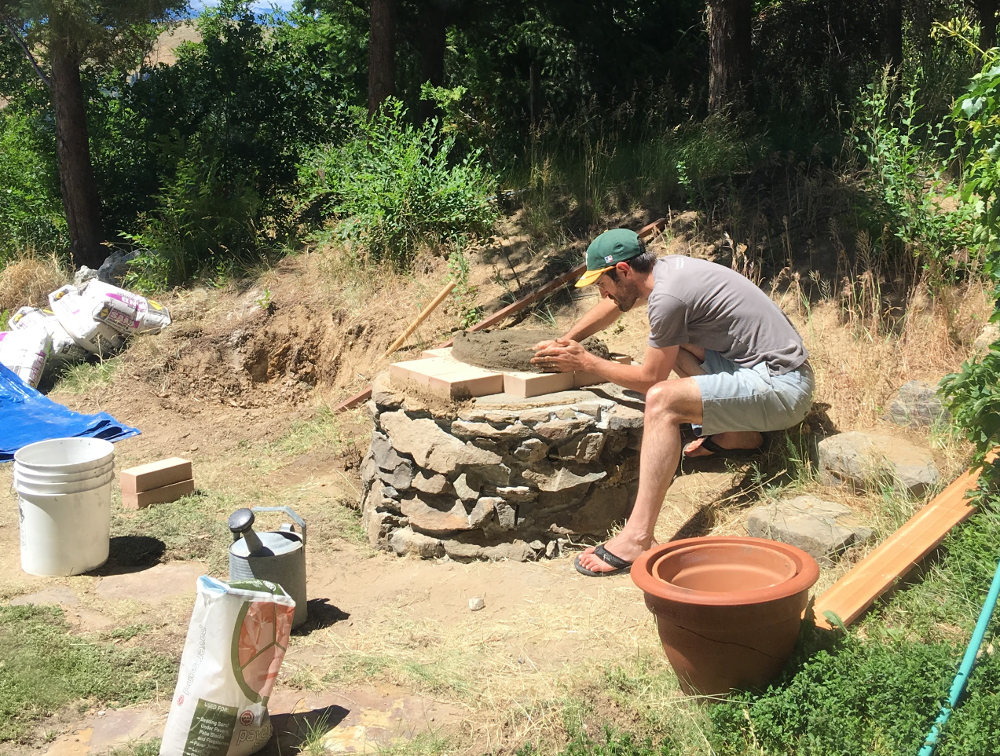
Mixing Mud
This part is pretty easy. Get a tarp, hose, clay rich soil and sand. Mix up in small batches and keep moist under the tarp as you use it.
Starting Heatsink Mud Layer
Starting to build the interior oven wall by compressing balls of mud in a long line around the dome. Wall is about 4" thick.
Making Progress
Continuing up the dome.

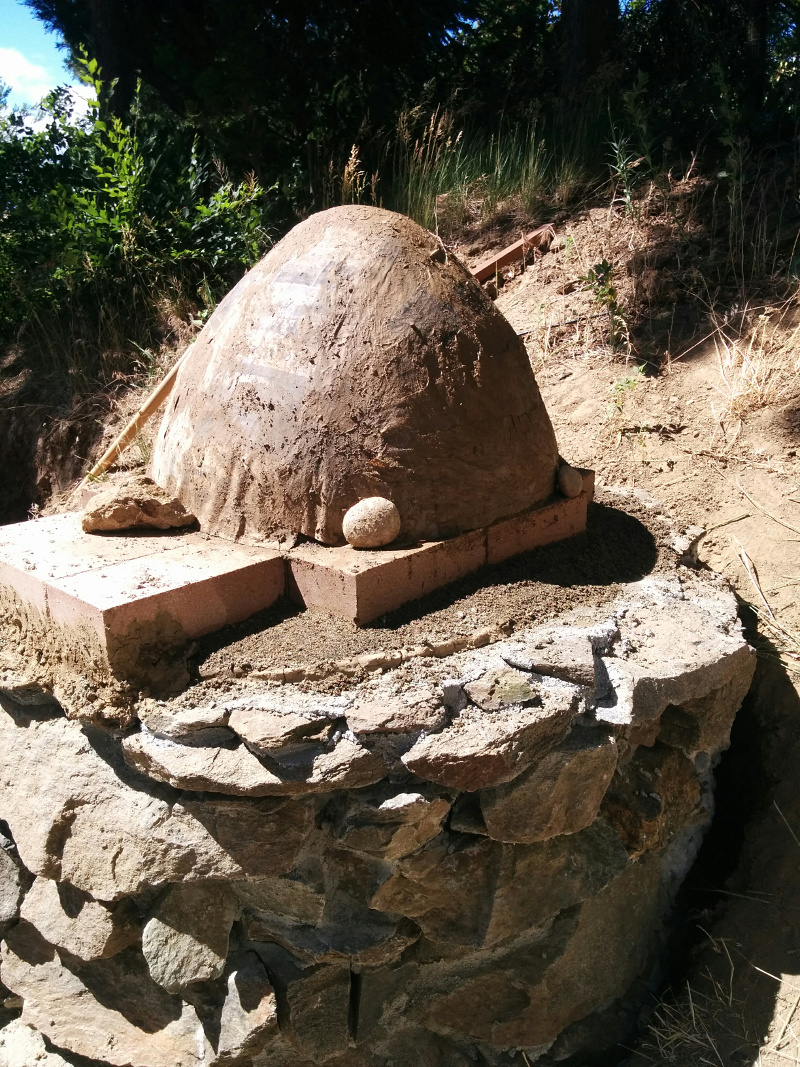
First Mud Layer Done
The oven is completely covered. Let dry enough so you can cut still cut the door out with a knife/trowel, but it's dry enough to stay standing.
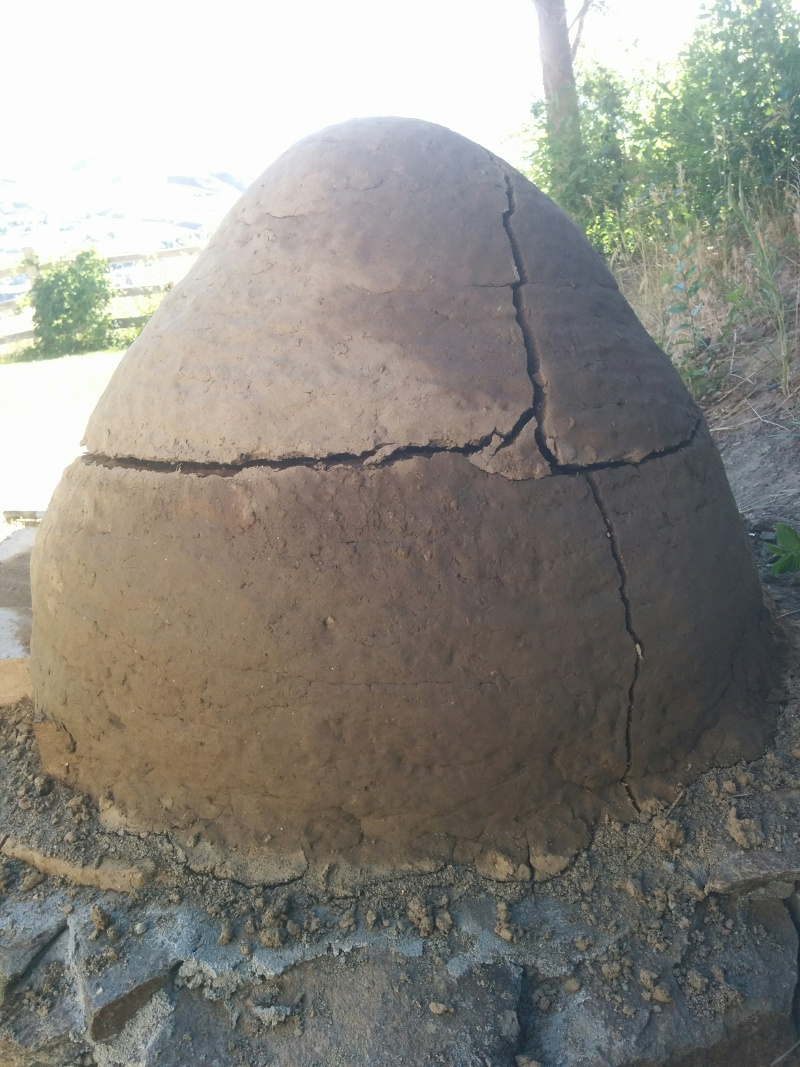
Major Cracking
Our soil had a very high clay content so we got a lot of cracking. It wasn't a problem and we just made more mud and filled them in, making sure to not leave gaps.
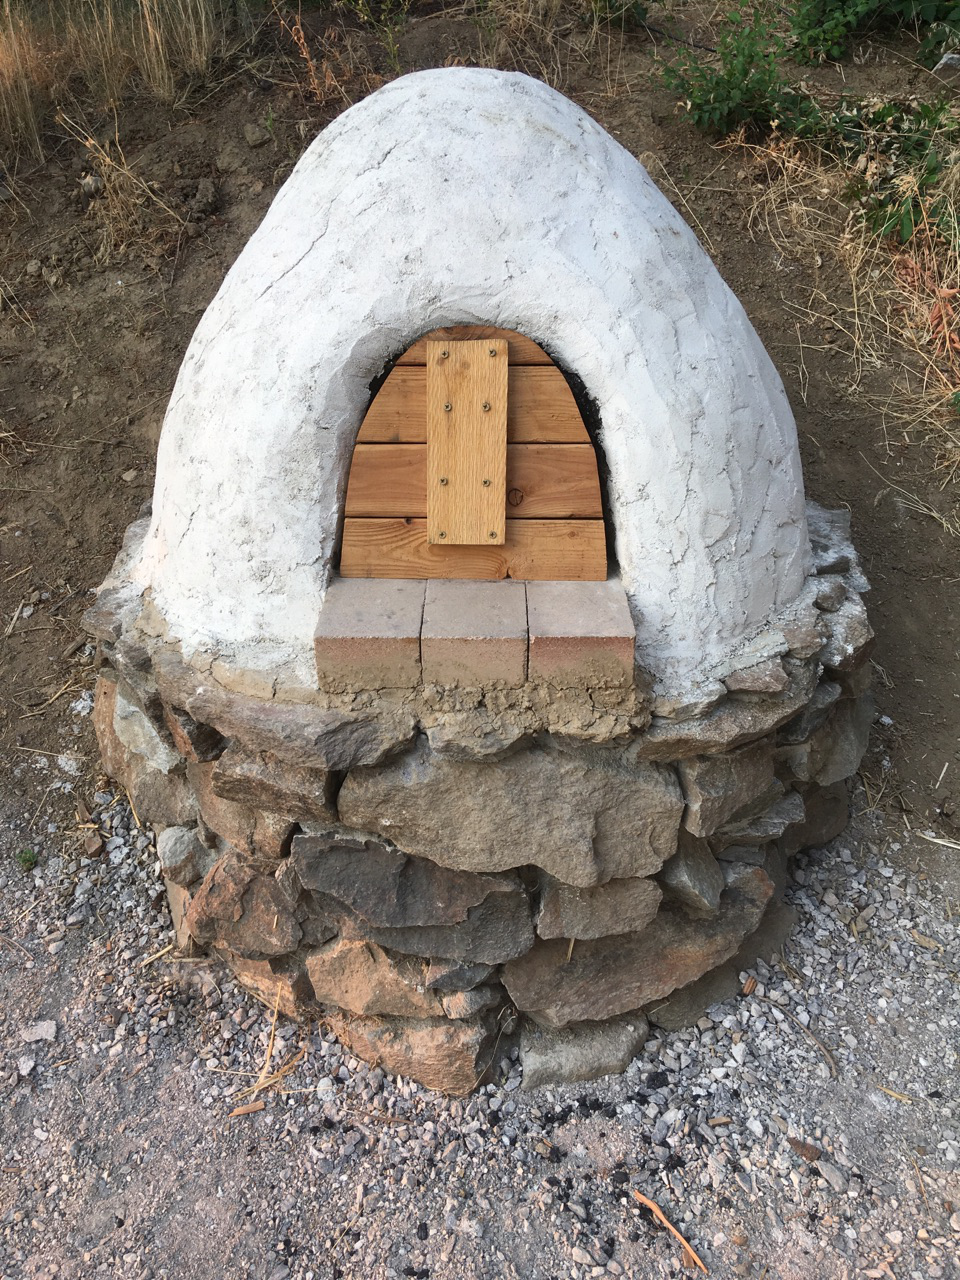
Cut Door
Door is cut out exposing the sand inside. Cut at a slight angle so your door doesn't fall in.
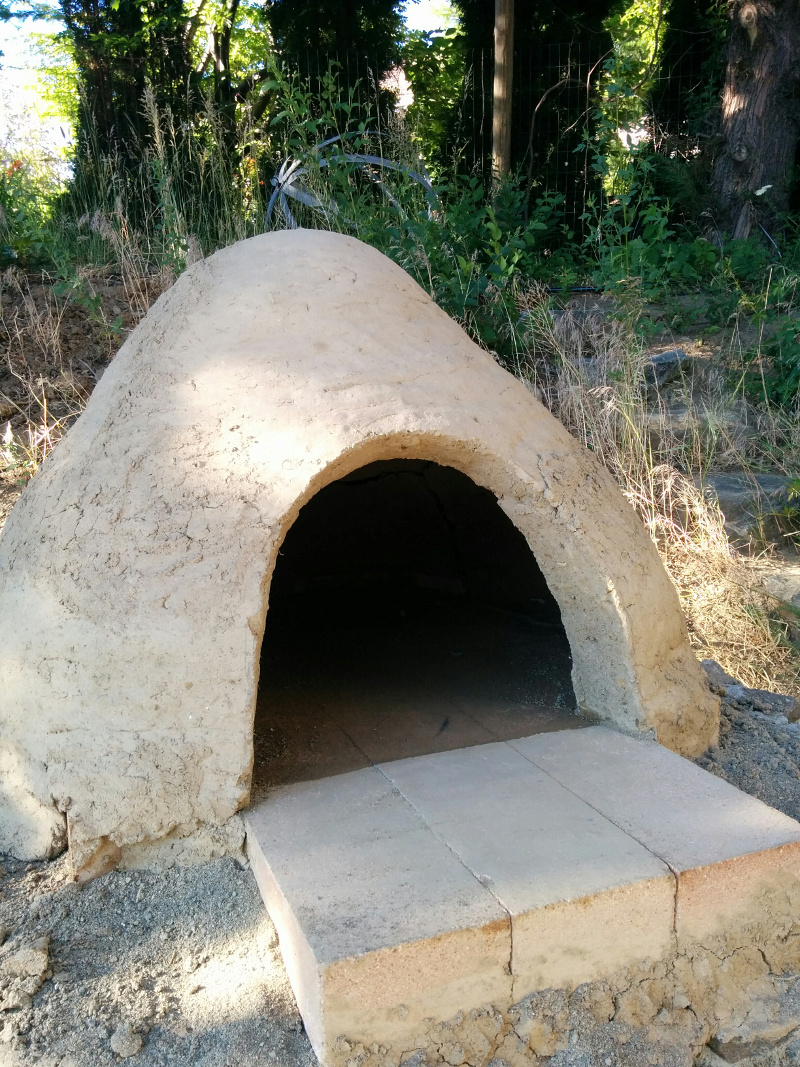
Inside Oven Complete
The first layer of the oven is done. At this point you can fire in it but it won't have very good heat retention.
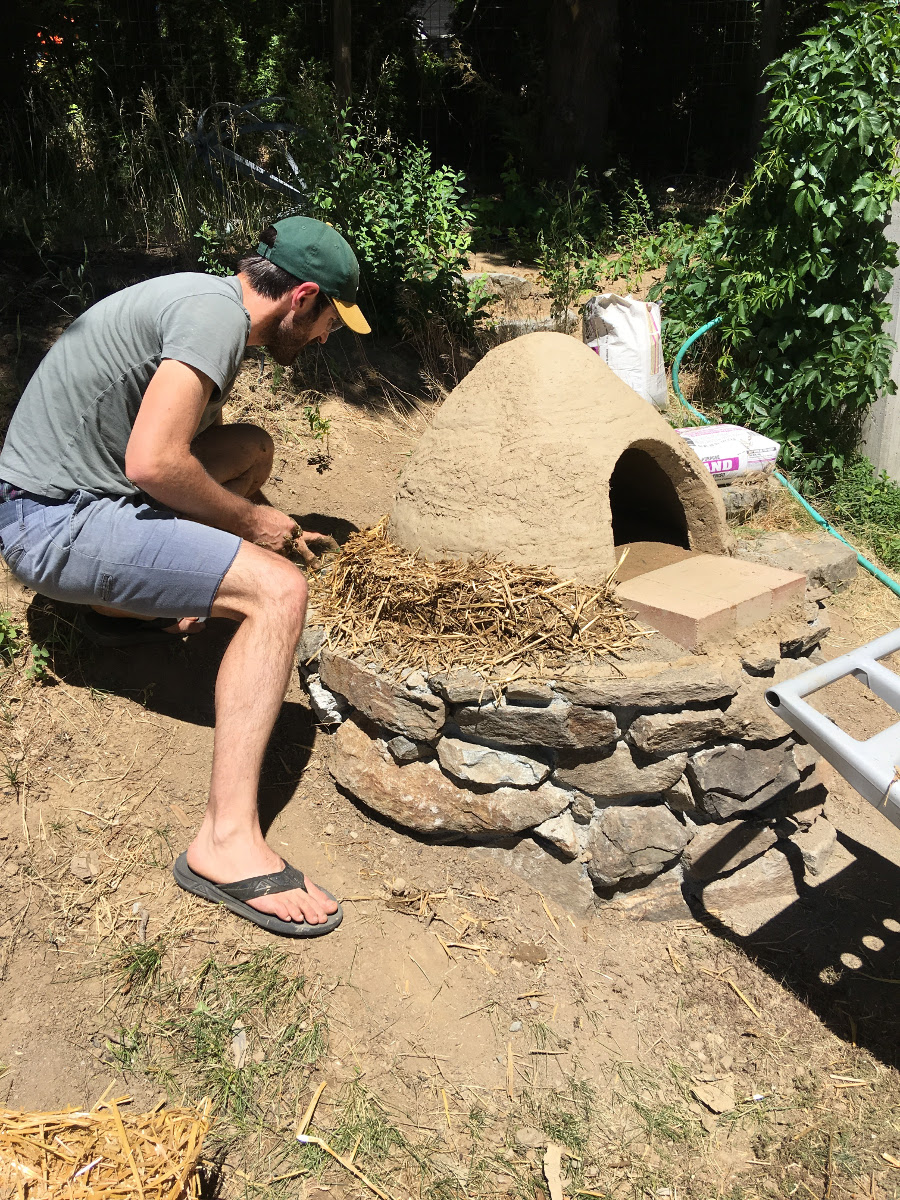
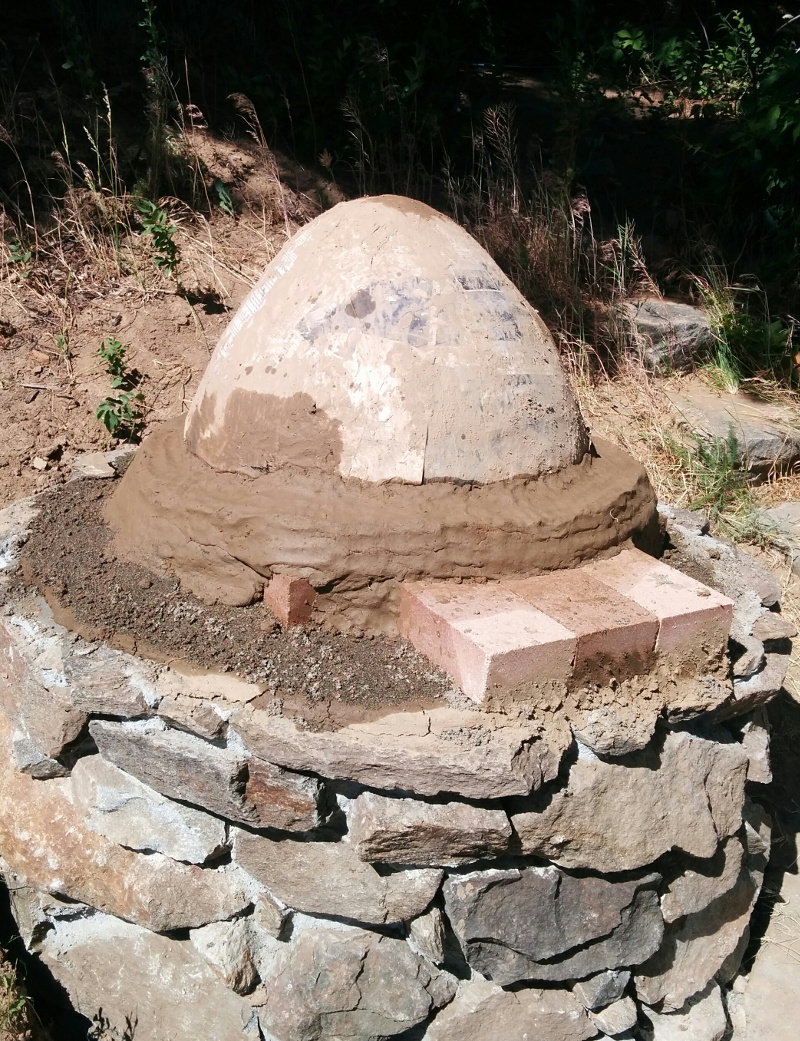
Starting Insulation
A dry mix of straw and clay slip is used for the insulation. About 4" thick again and helps to build up around the door a bit so the edge is clean.

More Insulation
Getting lots of personality at this point.
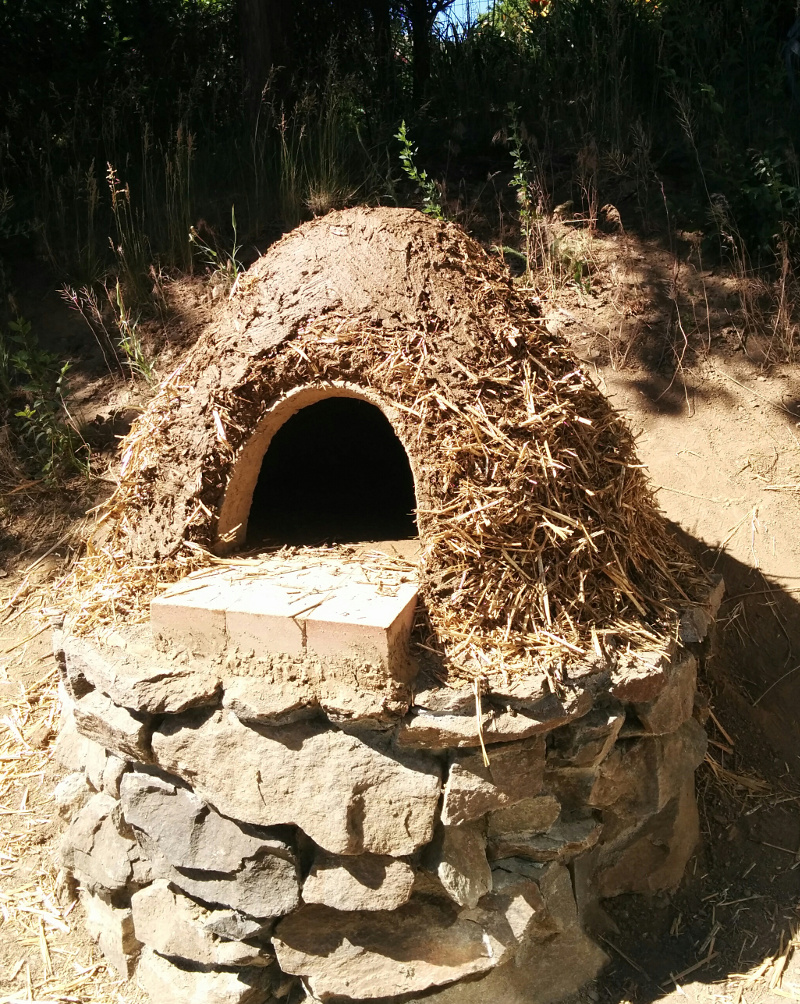
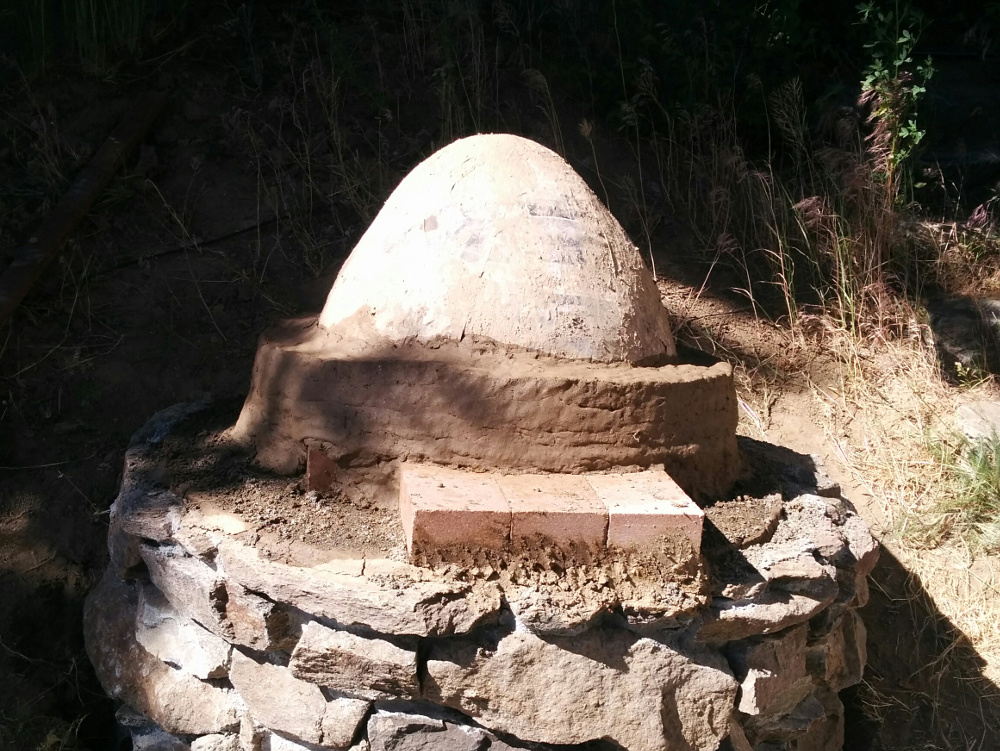
Insulation Done
Fully insulated and ready to fire.
Thin Mud Layer
Added a thin mud layer to clean up the appearance and give the plaster a smoother surface to connect to.
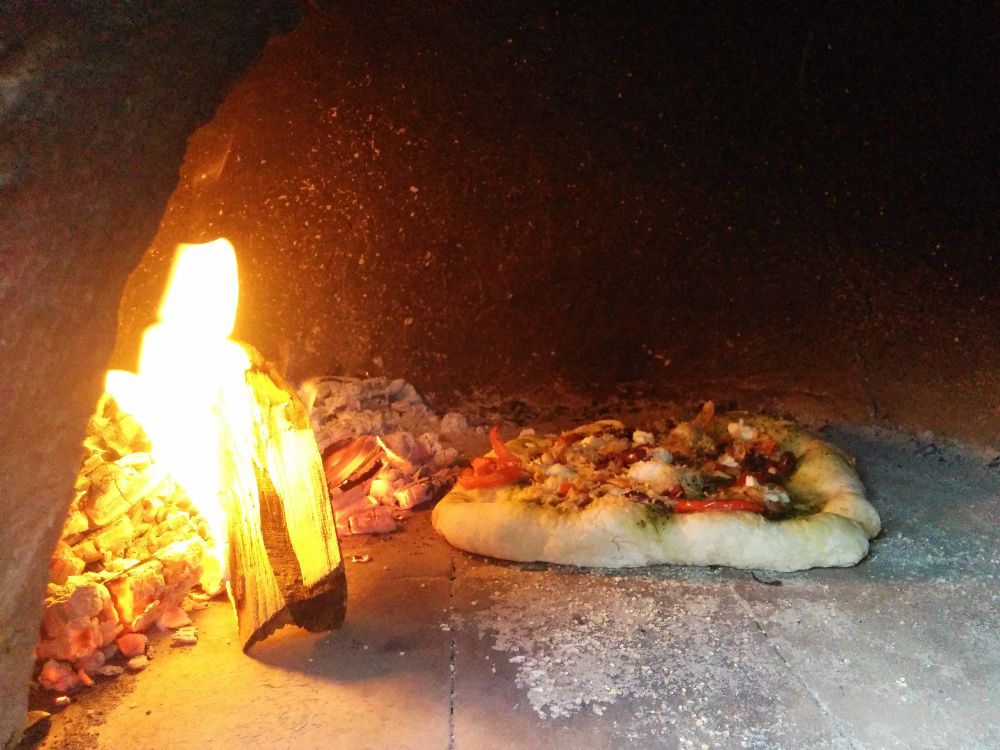
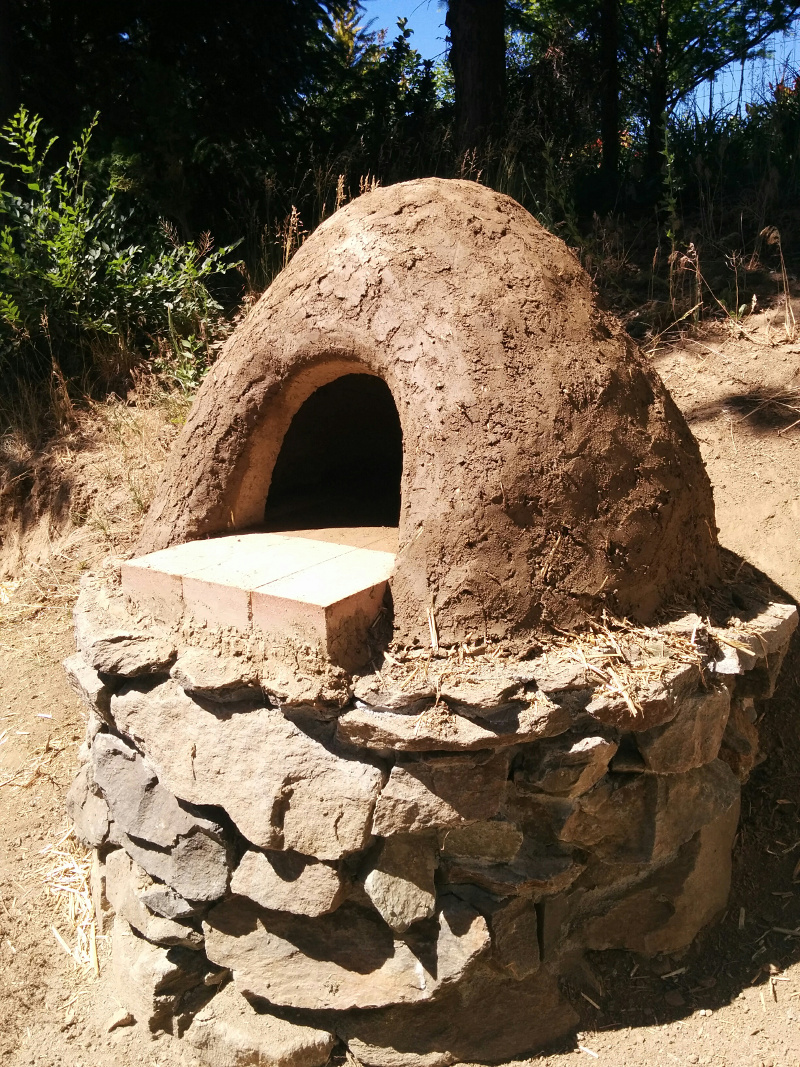
First Pizza!
Our first pizza is in. Takes about 90 seconds to cook a pizza fully. Absolutely delicious and totally worth all the work.
Lime Plaster
Went with a natural "Natural hydraulic lime plaster" from Otterbein that we bought on Amazon. Whatever you use has to be breathable, adhere to mud and water repellent.
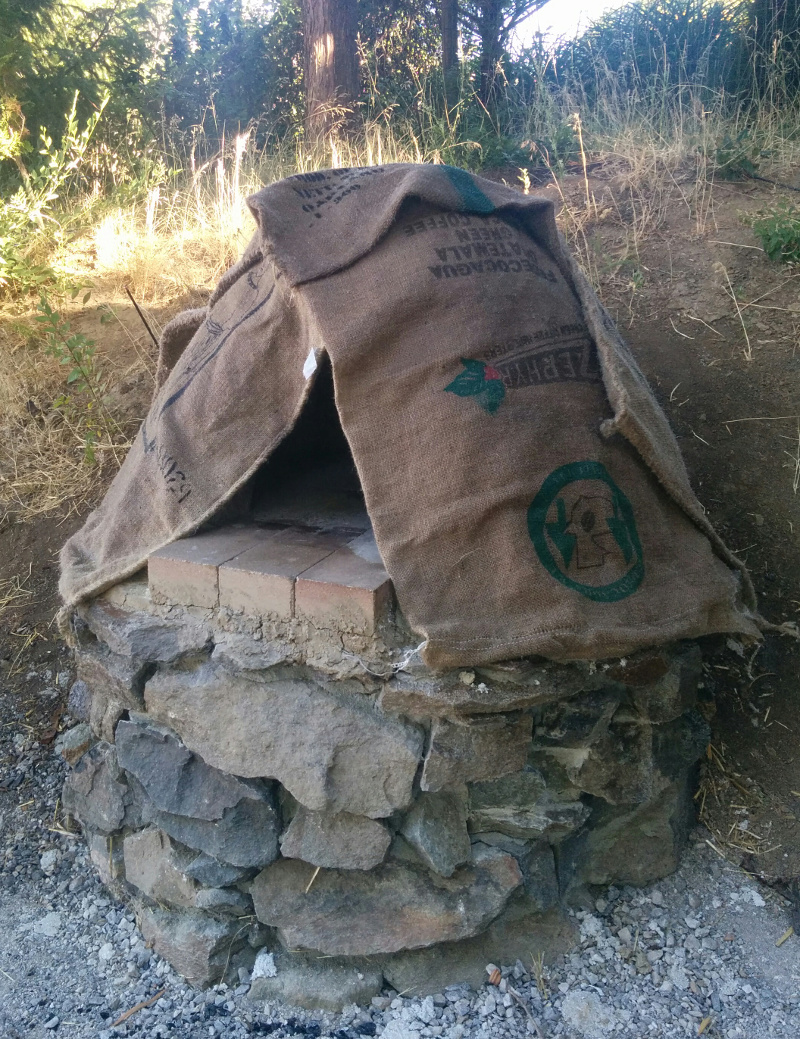
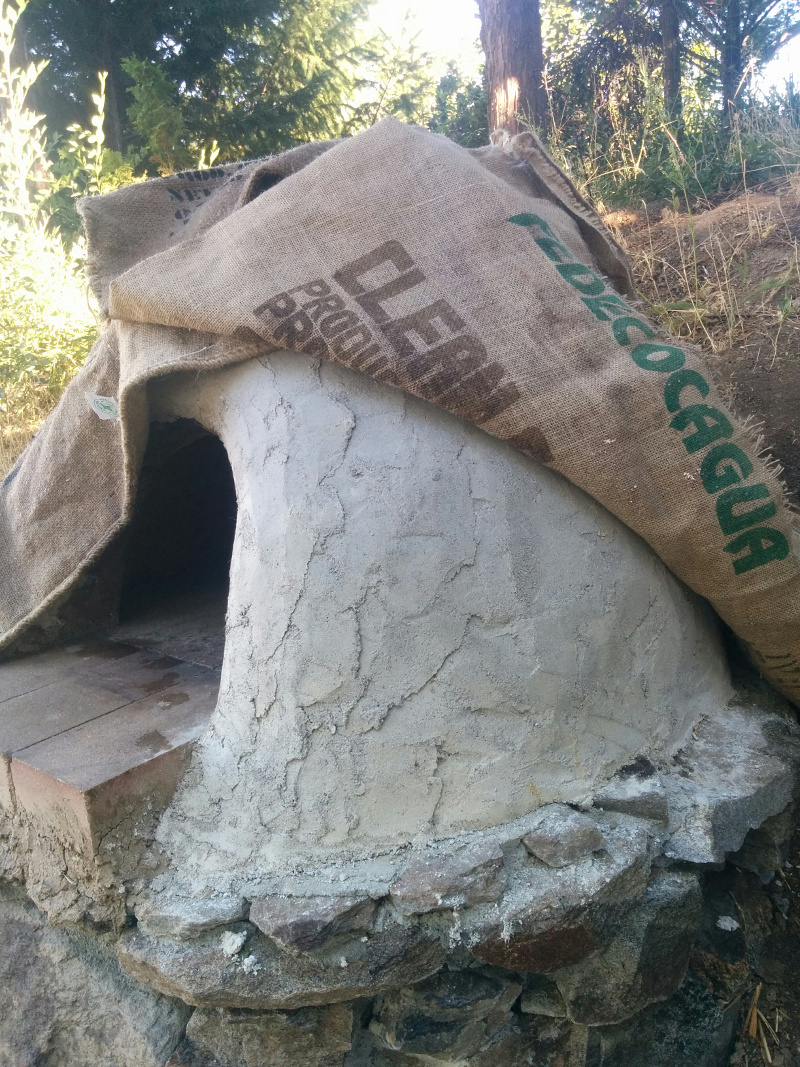
Plaster Slow Dry
Letting the plaster dry slowly under wet burlap is a good idea for improved strenght.
First Coat Lime Plaster
The initial layer is done which is untinted. The plaster to sand ratio is 1:2 and then add water to get to the right consistency. Pigment can be added as well to change the final color. Another layer will go on that is tinted to blend into the hill nicely.